MongoDB
First, Install Mongoose
npm i mongoose
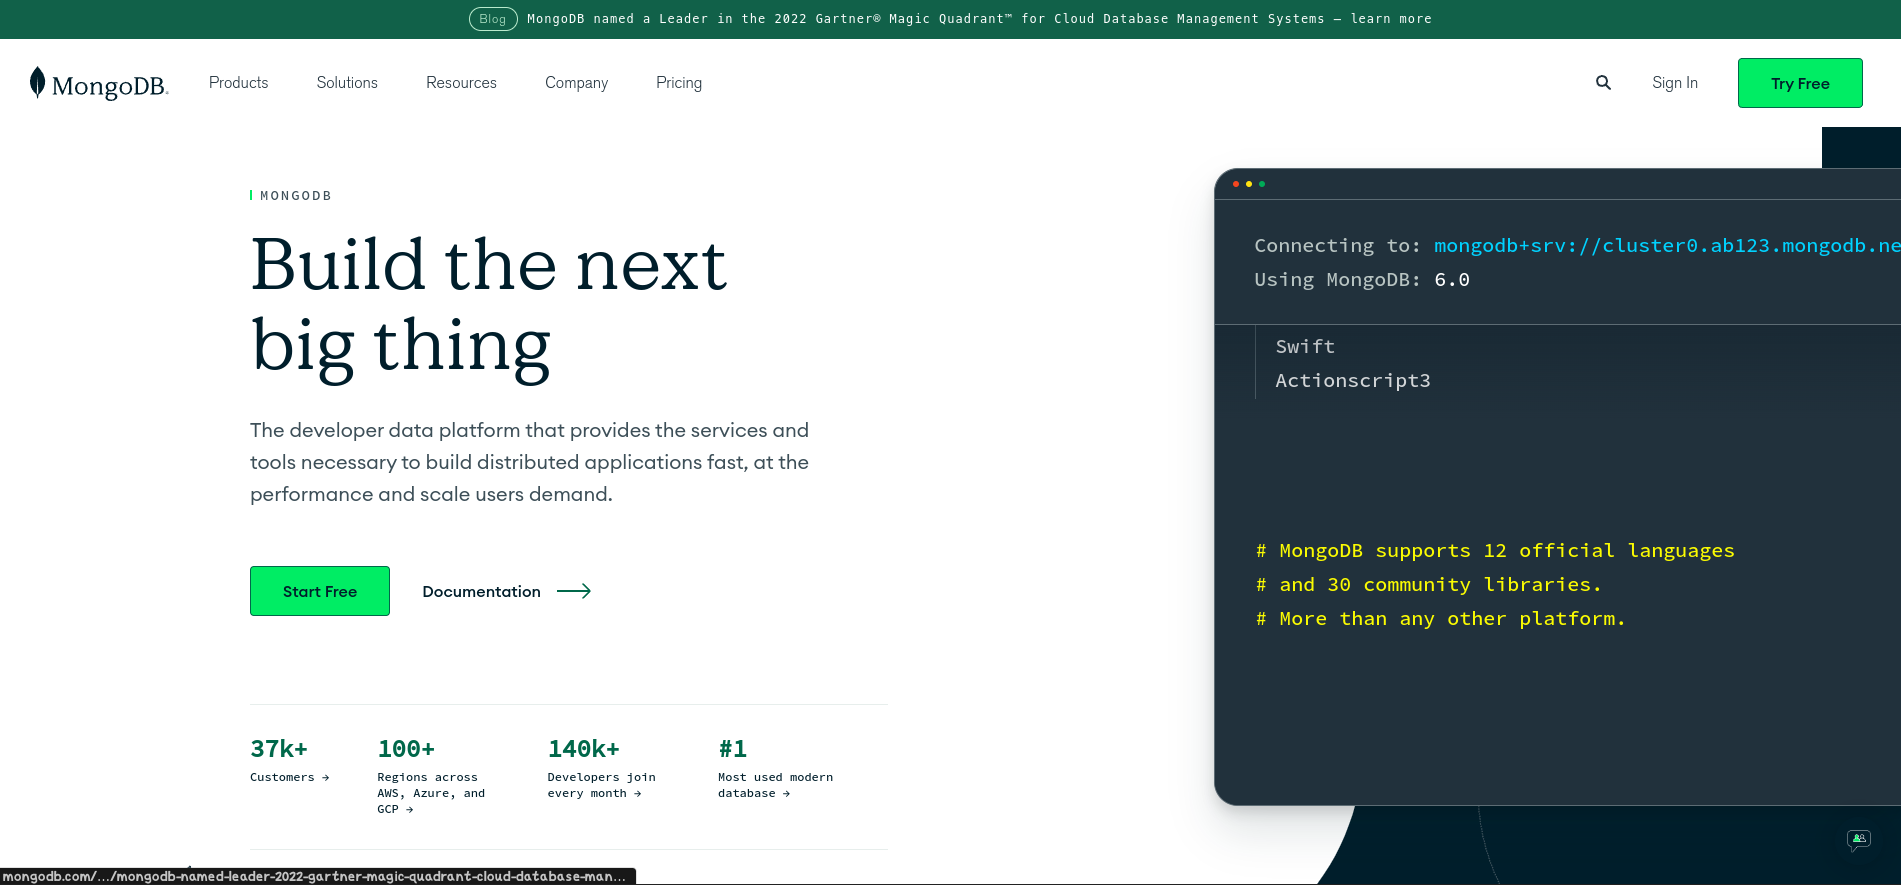
Next head to MongoDB's website
MongoDBIt should take you here.
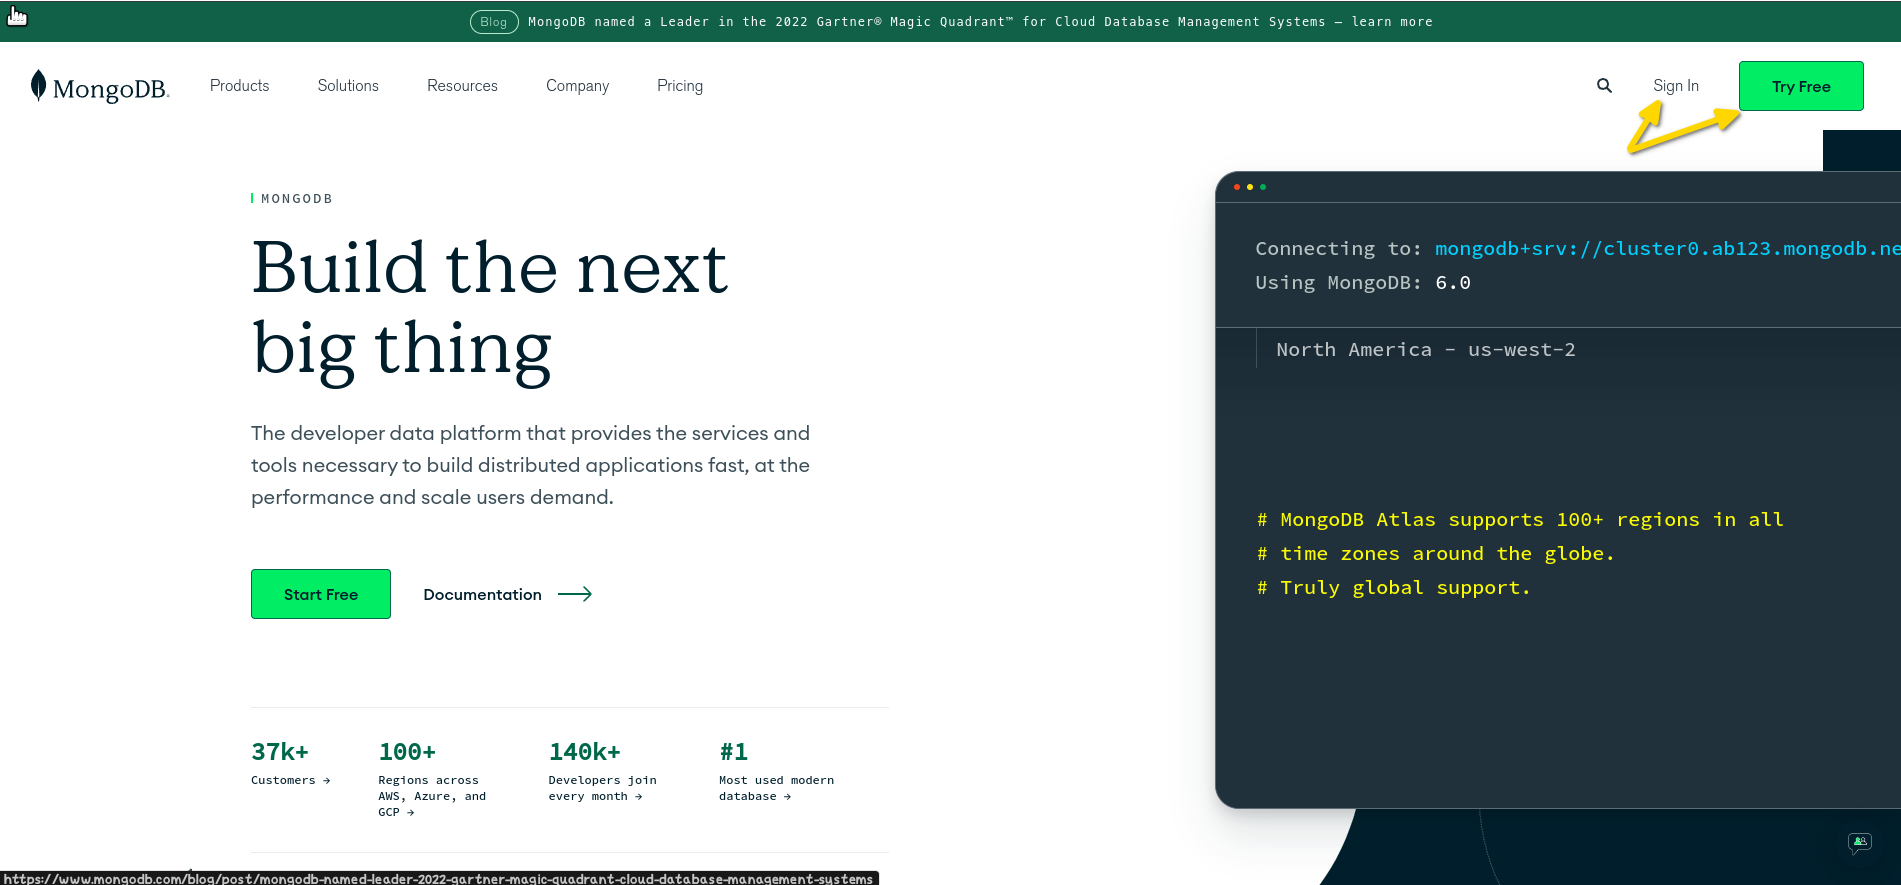
Sign In or Try For Free
In the top right, there is both a Sign In and Try Free. If you have used MongoDB already, you can sign in. If this is your first time, you can try it for free.
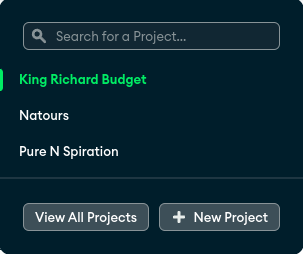
Go To Project Dropdown Menu In Top Left Corner
You should see a projects dropdown menu in the top left corner under the word 'Atlas'. Click the dropdown menu.

Click On Existing Project Or Create New Project
If you have a list of projects, you can select one of them, or you can click on 'New Project' on the bottom right of the dropdown.
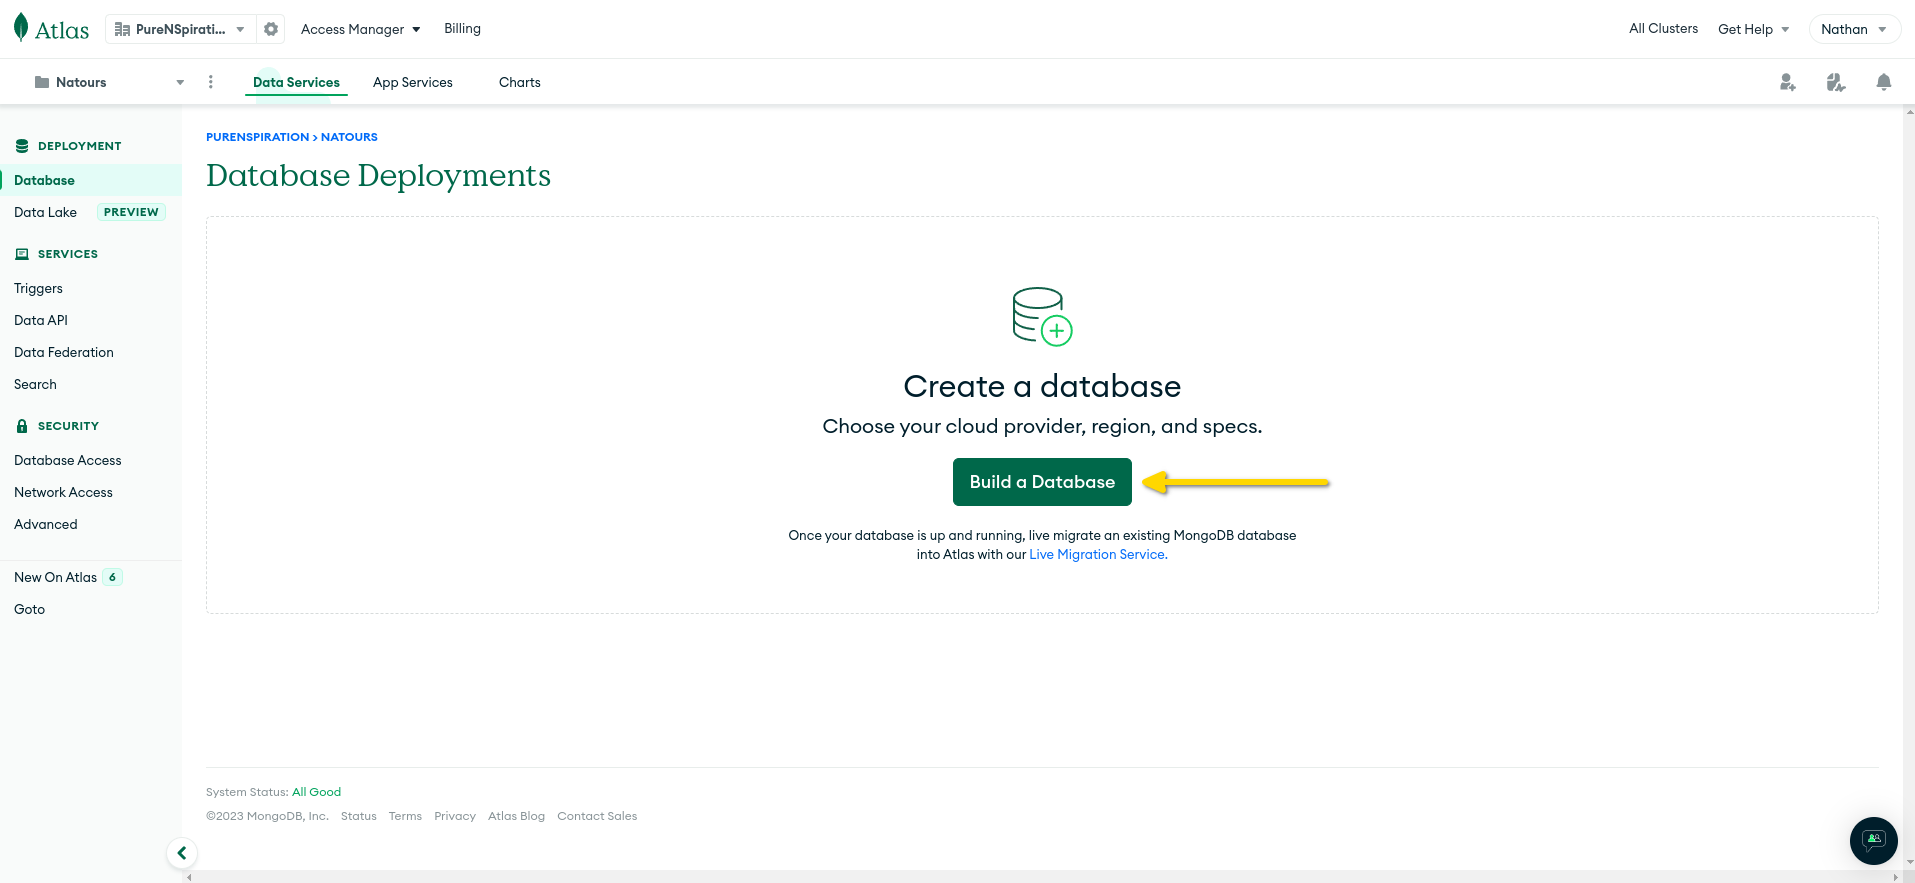
Click Create Database
If your project has an existing database, and needs a new one it will be here.
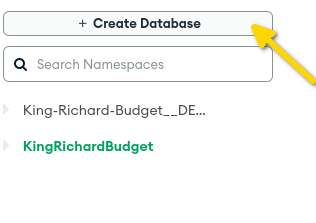
If your project does not have an existing database, and needs a new one it will be here.
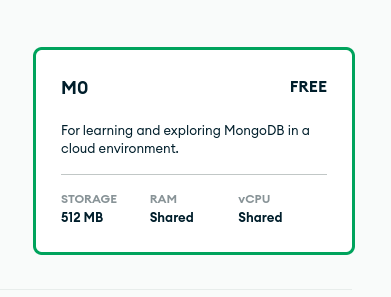
Choose Database Tier
This next step is choosing the database tier you want. If you need it to be free, choose the free tier shown below.
Click On Create To Create Database
To finally create the database, click the button with the word 'Create' inside it.

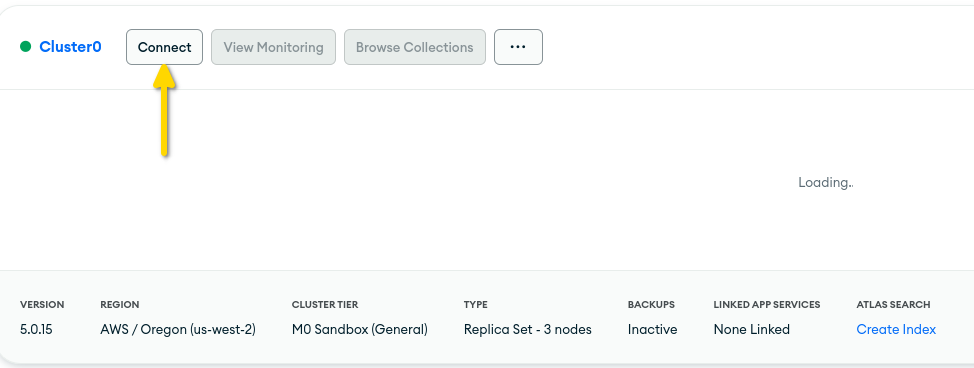
Click On The Connect Button
Now click the connect button to get the menu of ways to connect to the database.
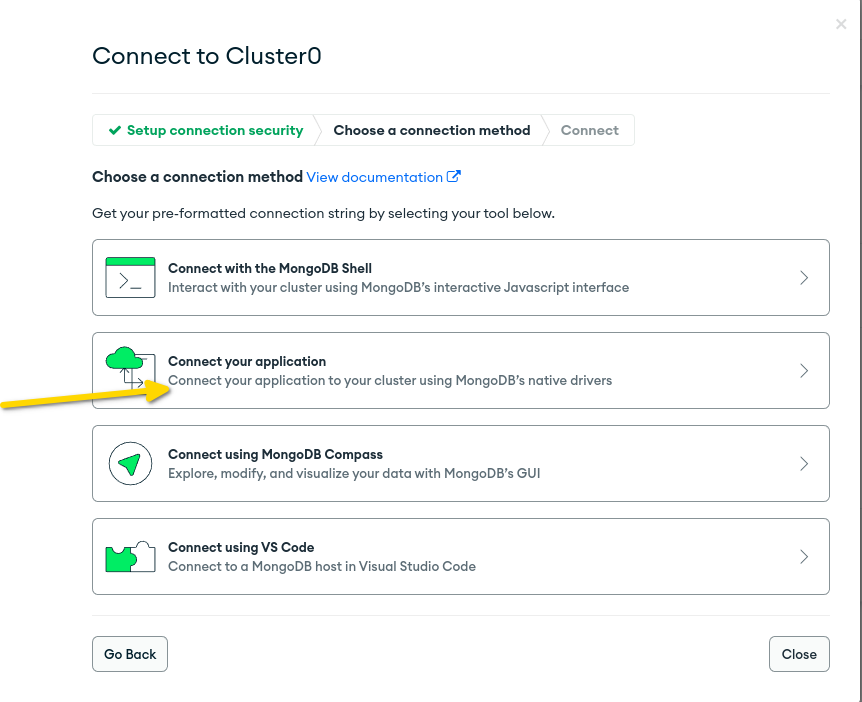
Click On Connect Your Application
To get the connection string you need, select Connect To Application menu item.
Finally, copy the connection string
You will need the connection string inside one of the backend server methods to connect to your newly created database. It will look similar to below. You also will need to remember the name of your database that you choose.
mongodb+srv://yourChosenUsername:password@cluster0.3osdj5z.mongodb.net/databaseNameHere?retryWrites=true&w=majority